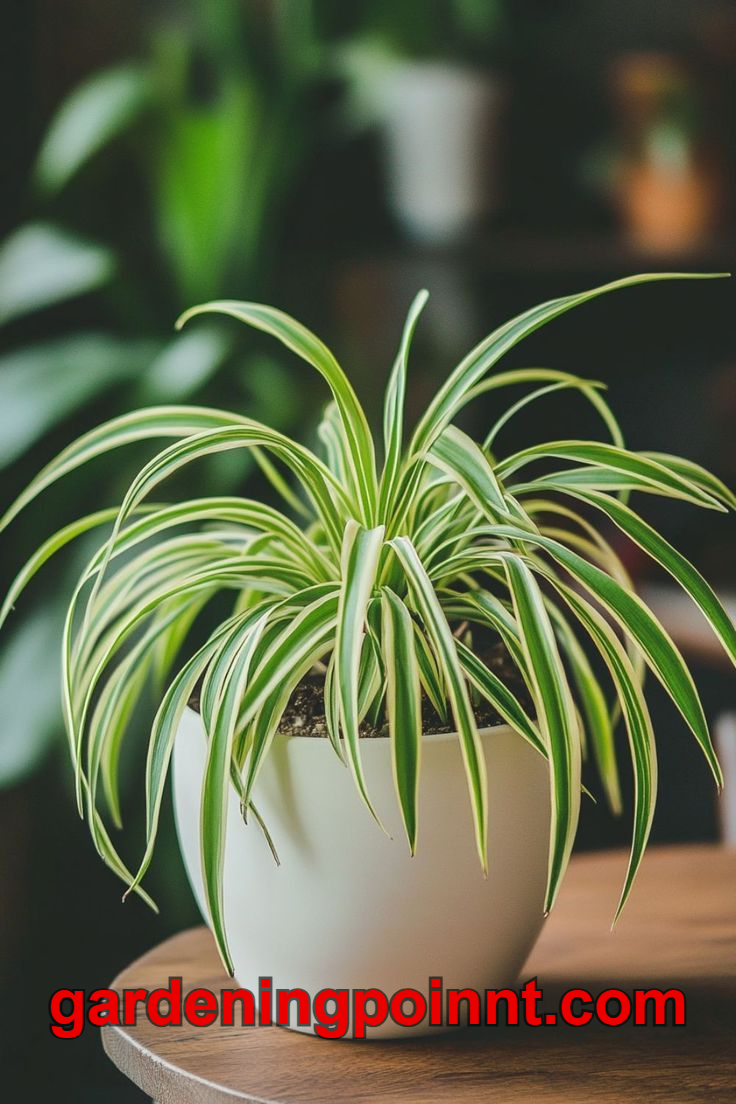
Few houseplants have stayed popular across as many decades as the spider plant. It was a fixture of 1970s living rooms, macraméd into hanging baskets, and it remains just as common today on office desks, kitchen shelves and dorm room windowsills. That kind of staying power is not an accident of trend cycles — it comes down to a plant that is genuinely easy to grow, visually distinctive, and endlessly self-propagating.
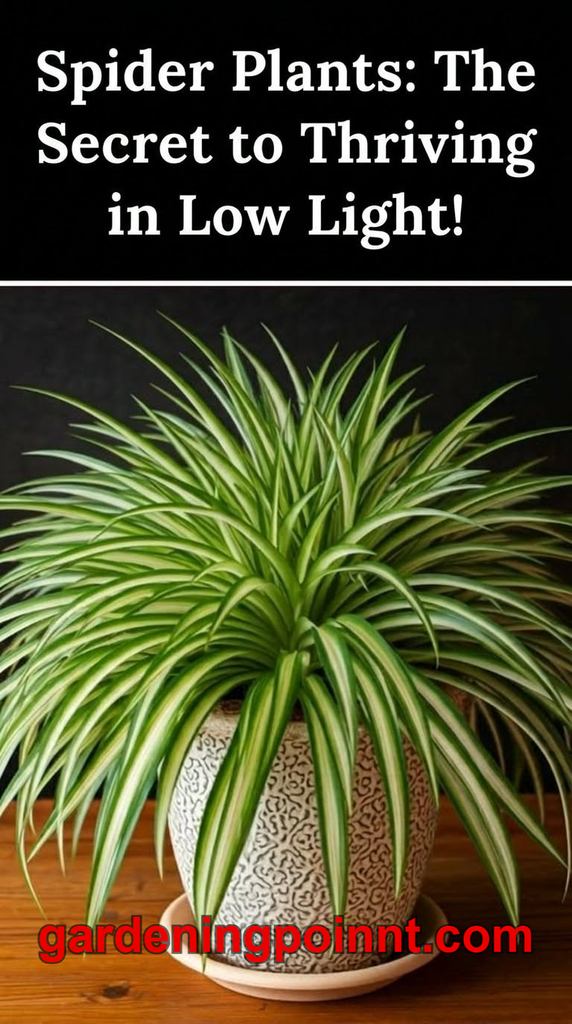
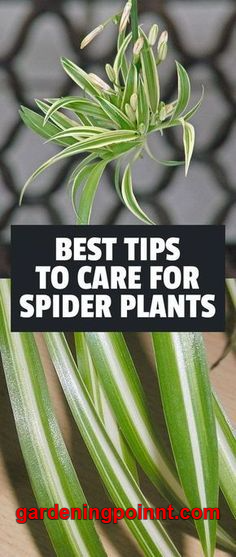
Botanically known as Chlorophytum comosum, the spider plant produces long, arching, grass-like leaves, usually striped with a central white or cream band, that grow in a dense rosette. Given time and the right conditions, mature plants send out long wiry stems tipped with small plantlets that dangle like spiders on threads, which is exactly where the common name comes from. Each of those plantlets is a genetically identical baby plant, ready to be rooted into a pot of its own.
This guide covers everything: light, watering, soil, propagation, the specific and very common brown-tip problem, and how to keep a spider plant thriving for years.
Spider Plant Light Requirements
Bright, Indirect Light Is Ideal
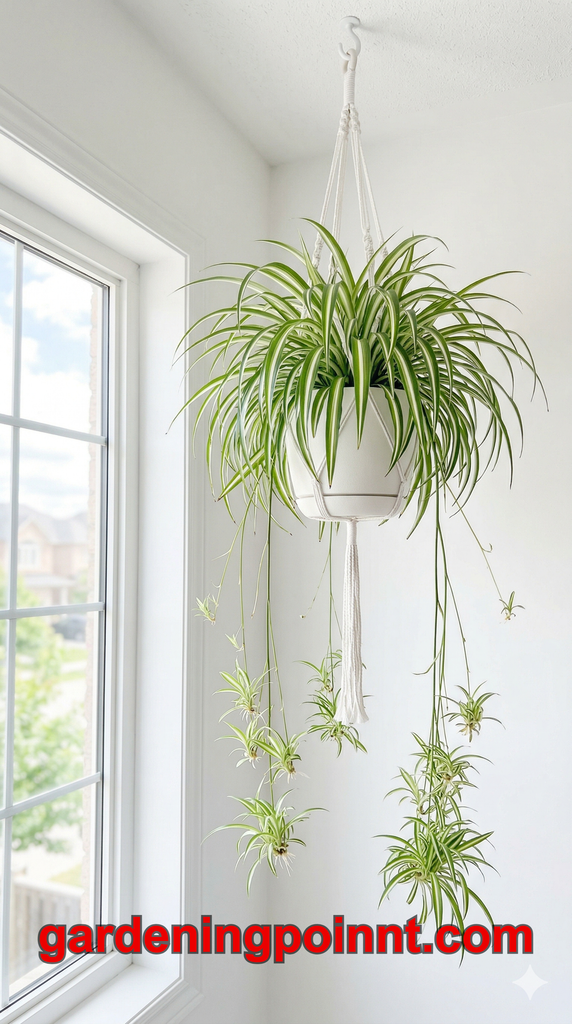
Spider plants grow fastest and produce the most plantlets when placed in bright, indirect light — a spot near an east or west-facing window, or a few feet back from a south-facing one. This is the light level that most closely reproduces the dappled forest conditions the species evolved under in South Africa.
Low Light Tolerance
Spider plants tolerate considerably lower light than many houseplants and will survive comfortably in a moderately dim room. Growth simply slows, and the plant produces fewer, or no, hanging plantlets until conditions improve.
Direct Sun Should Be Limited
Harsh, direct afternoon sun through unfiltered glass can scorch spider plant leaves, leaving pale, dry patches. Morning sun is generally gentler and better tolerated, but as a rule, bright indirect light beats direct sun for this species.
Variegation and Light
The white or cream stripe running down the center of most spider plant leaves depends partly on light levels to stay crisp. In lower light, variegation can appear slightly less vivid, though this is a minor cosmetic shift rather than a sign of a problem.
How to Water a Spider Plant
General Watering Rule
Water when the top two to three centimeters of soil feel dry to the touch. Spider plants have thick, fleshy roots that store some water, which makes them noticeably more forgiving of a missed watering than of consistently soggy soil.
Frequency
As a general starting point, water roughly once a week during spring and summer, and reduce this to every ten days to two weeks in autumn and winter as growth slows. Actual timing depends heavily on pot size, light and room temperature, so always check the soil rather than relying purely on a calendar.
How to Water Properly
Water thoroughly until it drains from the bottom of the pot, then discard any excess sitting in the saucer. Standing water left under the pot is one of the more common causes of root problems in this otherwise resilient plant.
The Fluoride Sensitivity Issue
Spider plants are unusually sensitive to certain minerals and chemicals commonly found in tap water, particularly fluoride, along with chlorine and excess salts. This sensitivity is the single most common cause of the brown leaf tips spider plant owners frequently ask about, covered in more detail later in this guide.
Signs of Overwatering
Soft, translucent, yellowing leaves, a musty smell from the pot, and stunted or collapsing growth generally point to overwatering and potential root rot.
Signs of Underwatering
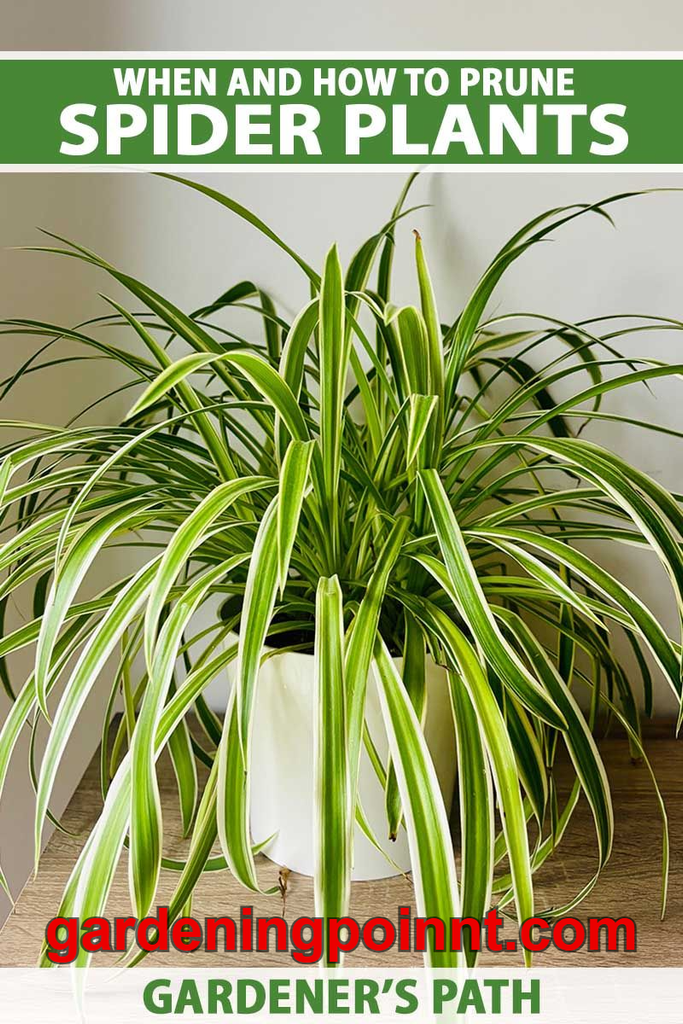
Thin, curling leaves and a generally limp appearance signal thirst. Spider plants typically bounce back within a day of thorough watering once genuinely dry.
Best Soil for Spider Plants
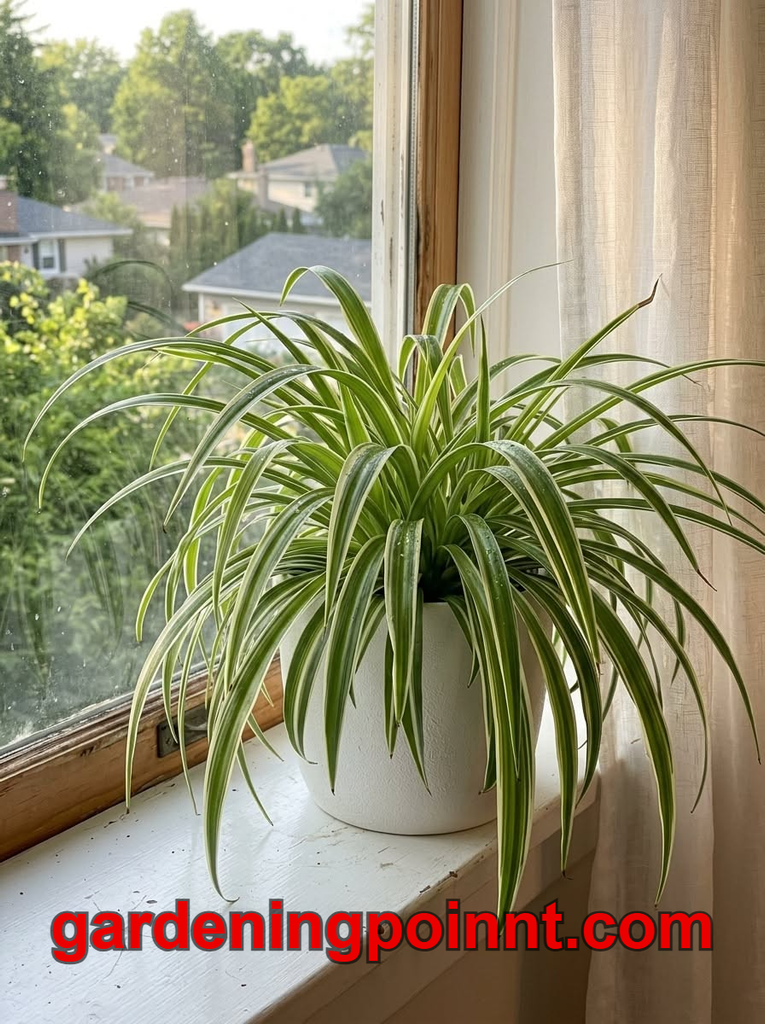
A well-draining, general-purpose potting mix suits spider plants well. Because their thick roots store some moisture, they do not require the extremely fast-draining mix that a cactus or succulent needs, but they still dislike sitting in dense, waterlogged soil for extended periods.
Recommended approach: a standard potting mix with a modest amount of perlite added for extra aeration, roughly one part perlite to four or five parts potting mix.
What to avoid: heavy garden soil, and mixes that stay wet for many days after a thorough watering.
Choosing the Right Pot
Drainage Holes Are Essential
As with virtually every common houseplant, a pot without drainage holes significantly raises the risk of waterlogged roots, since excess moisture has nowhere to escape.
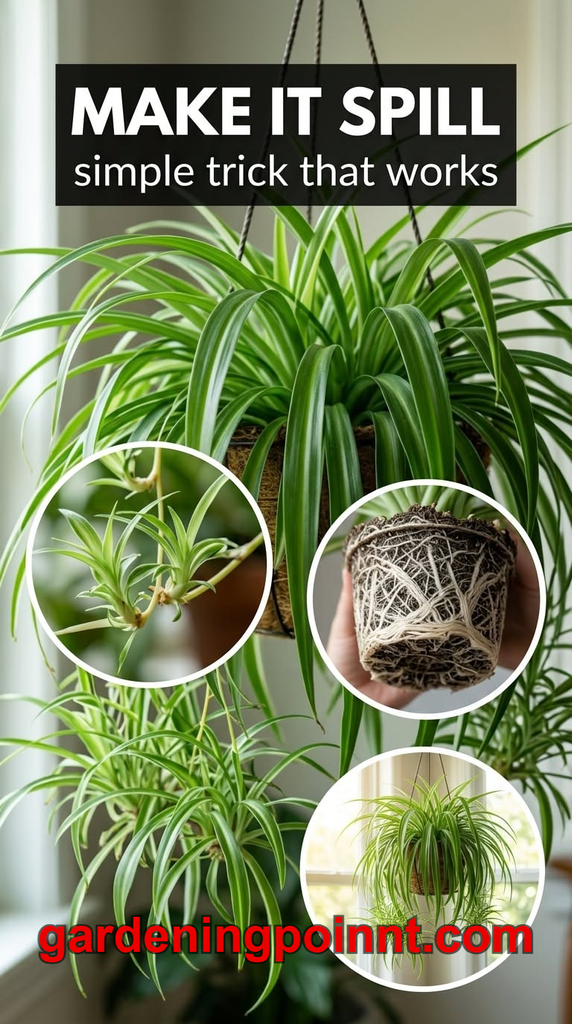
Hanging Baskets Suit the Plant’s Natural Habit
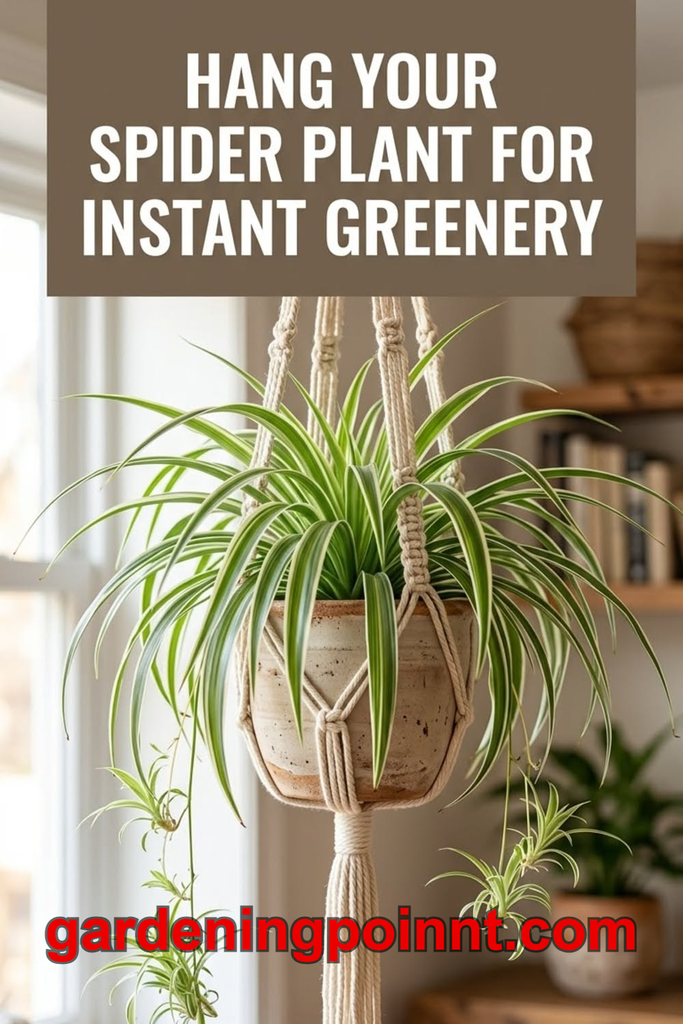
Because mature spider plants send out long trailing stems with plantlets, a hanging basket or an elevated stand allows this cascading growth to be fully visible rather than dragging on a shelf or windowsill.
Sizing
Spider plants grow quickly and their thick roots can fill a pot within a year or two. Choose a pot roughly two to five centimeters larger in diameter than the current root ball when repotting, avoiding a drastic jump in size.
Temperature and Humidity
Spider plants are comfortable at normal indoor room temperatures, generally between 18 and 27°C, and do not require any special humidity beyond typical household levels. They tolerate the drier air of a heated home reasonably well, though leaf tip browning can become slightly more pronounced in very dry conditions combined with mineral-heavy tap water.
Keep spider plants away from cold drafts, air conditioning vents blowing directly on the foliage, and any spot that regularly drops below about 7°C, which can cause visible cold damage to the leaves.
Fertilizing Spider Plants
Spider plants are relatively light feeders. During the active growing months of spring and summer, feed once every four to six weeks with a balanced, water-soluble houseplant fertilizer diluted to roughly half the recommended strength. Stop fertilizing entirely in autumn and winter, when growth naturally slows or pauses.
Because this species is notably sensitive to salt and mineral buildup, over-fertilizing is actually a more common problem than under-fertilizing, and frequently shows up as the same brown leaf tips caused by hard tap water. If you fertilize regularly and see tip browning, flushing the pot thoroughly with plain water every couple of months helps clear excess mineral buildup from the soil.
Understanding Spider Plant Varieties
‘Vittatum’ is the most common variety, featuring a single central white stripe running down each green leaf.
‘Variegatum’ has the reverse pattern, with white or cream edges bordering a green center stripe.
‘Bonnie’, sometimes called the curly spider plant, has the same striping as the classic form but with distinctly curled, twisting leaves that create a fuller, more compact appearance.
‘Zebra Grass’ and other less common cultivars offer subtle variations in stripe width and leaf shape, though care requirements remain essentially identical across all varieties.
How Spider Plants Produce Babies (Plantlets)
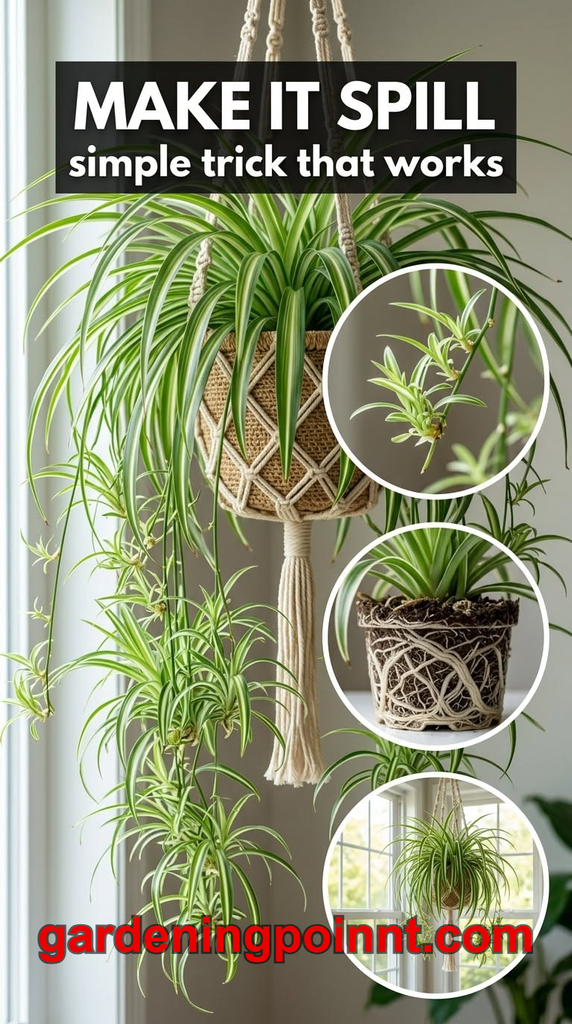
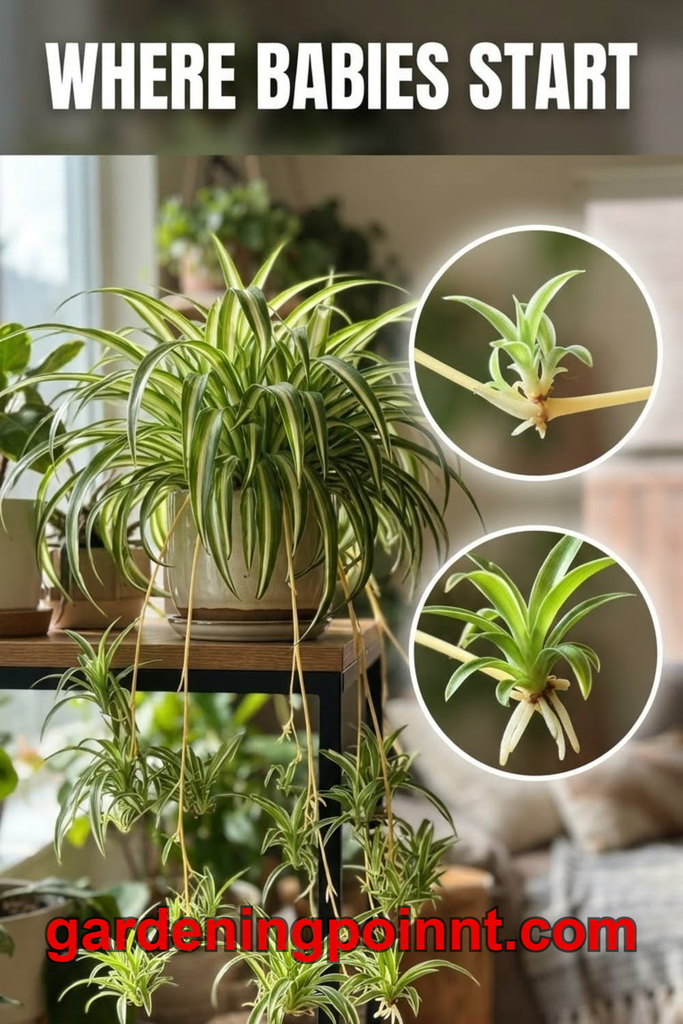
One of the most distinctive features of this species is its habit of producing offsets, commonly called spiderettes, pups or babies, on long arching stems called stolons.
This typically happens once a mature plant is somewhat root-bound and receiving adequate light, which seems to trigger a shift from vegetative leaf growth toward reproduction. Shorter day length in autumn can also encourage flowering and plantlet production in some plants, mimicking the natural seasonal cue the species would experience outdoors.
Each stolon usually produces one or several small plantlets, each a miniature version of the parent plant, complete with tiny aerial roots that begin forming even while still attached. Left alone, these plantlets will eventually root into nearby soil naturally if they make contact with it, but most growers propagate them intentionally instead.
How to Propagate Spider Plant Babies
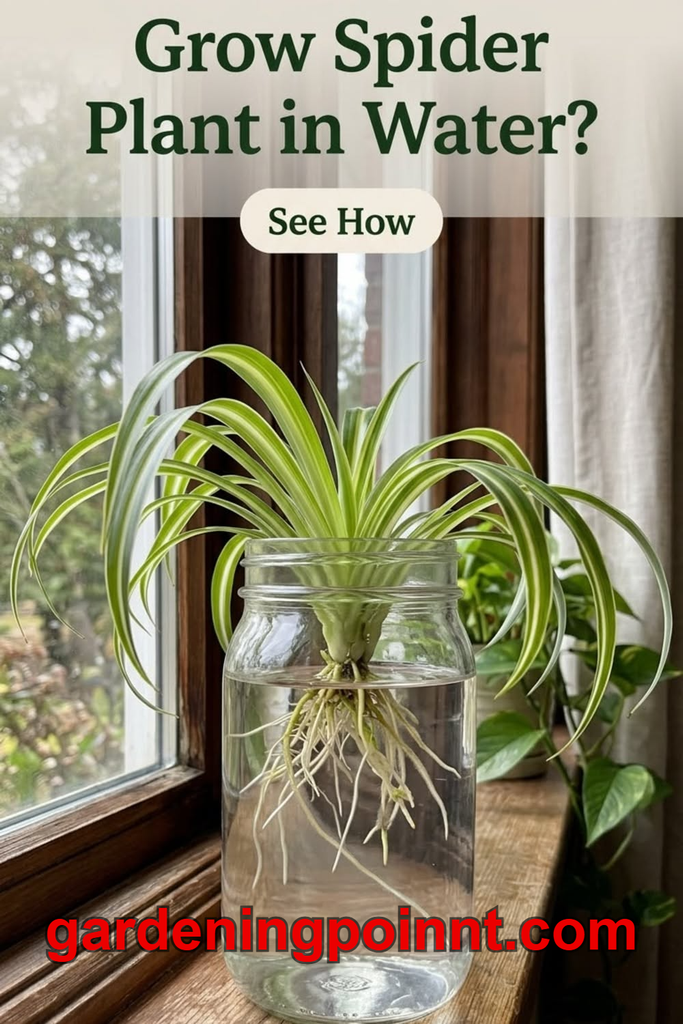
Method One: Root in Water While Attached
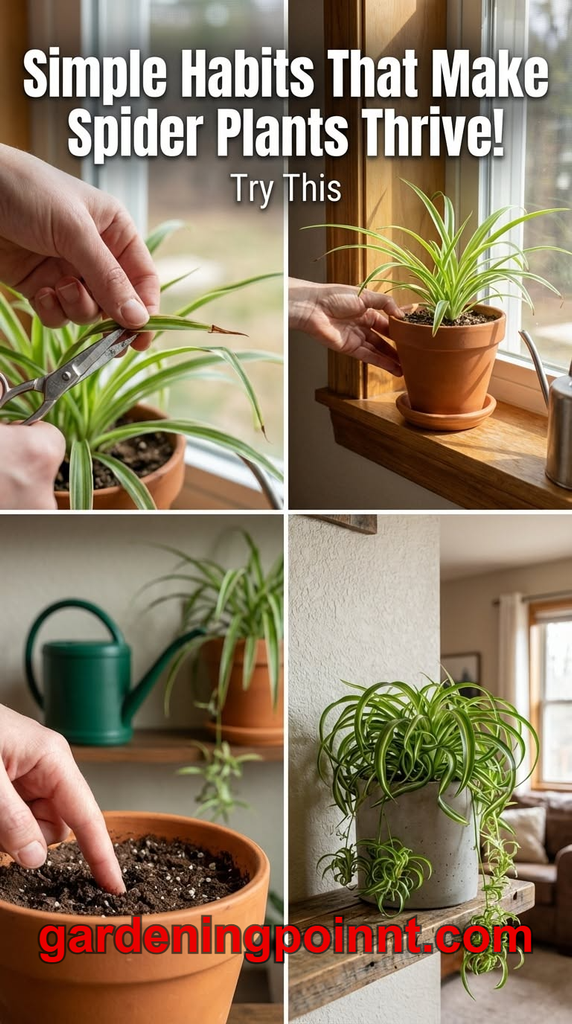
Fill a small container with water and rest a plantlet, still attached to the parent by its stolon, so the base sits in the water without cutting it free. Roots typically develop within one to two weeks. Once a healthy root system has formed, snip the stolon connecting it to the parent and pot the new plantlet into soil.
Method Two: Cut and Root Directly in Soil
Snip a plantlet from the parent plant, ensuring it already has small nub-like aerial roots visible at its base, and plant it directly into a small pot of moist potting mix. Keep the soil consistently damp, though not soggy, for the first couple of weeks while it establishes.
Method Three: Root in Water After Cutting
Cut the plantlet free from the parent first, then place the base in a glass of water until roots develop, generally over one to two weeks, before transferring it to soil. This method lets you keep an eye on root development before committing to a pot.
Division of the Parent Plant
A large, mature spider plant can also be divided at the root ball itself, similar to how many perennials are divided, separating it into two or more sections each with their own leaves and roots. This is a faster way to create larger new plants than starting from small plantlets, though it is a more disruptive process for the parent plant.
Repotting a Spider Plant
When to Repot
Repot once roots are visibly circling the base of the pot, emerging from the drainage hole, or when watering seems to run straight through without the soil absorbing much of it, all signs the plant has outgrown its current container.
Best Timing
Spring, at the start of the active growing season, allows the plant to recover and establish new growth quickly.
How to Repot
Water the plant the day before to ease removal, then gently loosen the root ball, trimming away any dark, mushy sections while leaving healthy white or pale roots intact. Move it into a pot only slightly larger than the previous one, backfill with fresh potting mix, water thoroughly, and expect a short adjustment period before new growth resumes.
Common Spider Plant Problems and Solutions
Brown Leaf Tips
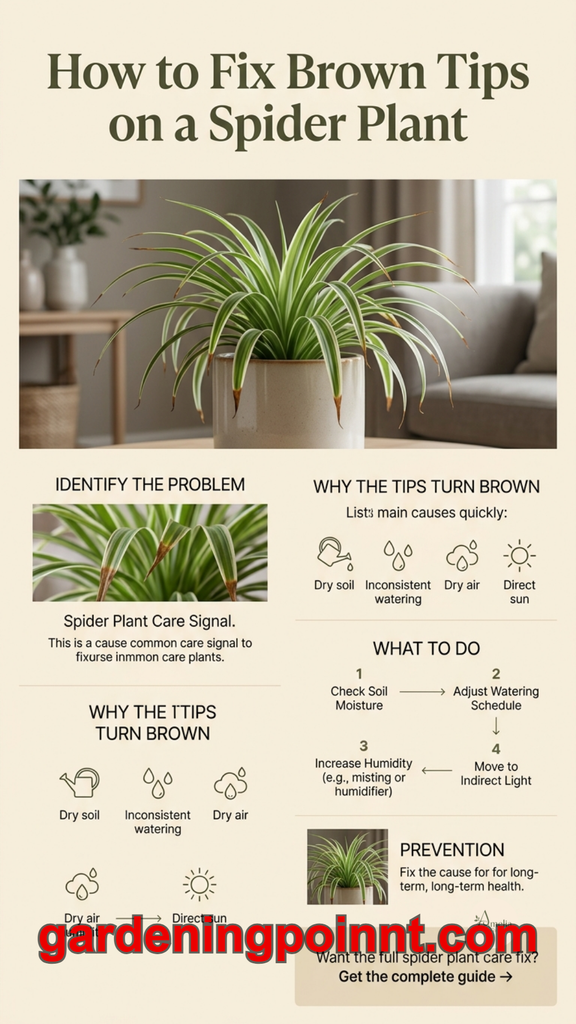
By far the most frequently asked-about spider plant issue. It is usually caused by one or a combination of fluoride or chlorine in tap water, mineral buildup from over-fertilizing, low humidity, or occasionally underwatering. Switching to filtered water or water left to sit out overnight, flushing the soil periodically, and trimming existing brown tips with clean scissors (following the natural leaf shape rather than cutting straight across) all help manage this largely cosmetic issue.
Pale, Washed-Out Leaves
Usually indicates too much direct sun. Move the plant back from the window slightly or add a sheer curtain to diffuse the light.
Yellowing Leaves
Most commonly linked to overwatering or a pot without adequate drainage. Check the soil moisture and drainage before assuming any other cause.
No Plantlets Forming
Often simply means the plant is young, not yet root-bound, or not receiving quite enough light. Patience, combined with slightly brighter light and allowing the plant to become a little more root-bound, usually resolves this over time.
Limp or Wilting Leaves
Typically thirst. A thorough watering usually restores the plant’s structure within a day, assuming root rot from previous overwatering is not the underlying cause instead.
Soft, Mushy Base
A sign of root rot from prolonged overwatering. Remove the plant from its pot, trim away any soft or discolored roots, and repot into fresh, dry soil, watering sparingly afterward until recovery is evident.
Spider Plant Pests
Spider plants face relatively few pest issues, though a handful can occasionally appear.
Spider mites, somewhat ironically for a plant with “spider” in its name, can appear as fine webbing and tiny speckled marks on the leaves, particularly in dry conditions. Increasing humidity slightly and treating with insecticidal soap or neem oil generally resolves an infestation.
Aphids occasionally cluster on new growth or emerging plantlets. A firm rinse under running water followed by insecticidal soap treatment usually clears them.
Mealybugs appear as small white, cottony masses, often hidden at the base of leaves. Dab affected areas with a cotton swab dipped in rubbing alcohol, then follow up with neem oil.
As with any houseplant, isolating a newly purchased plant for a couple of weeks before placing it near an existing collection remains the most reliable way to prevent pest problems from spreading.
Are Spider Plants Safe for Pets?
Spider plants are non-toxic to cats and dogs, making them one of the more reliably pet-safe common houseplants. That said, cats in particular are sometimes strongly attracted to chewing the leaves, reportedly due to a mildly hallucinogenic compound similar in effect to catnip, which can lead to some vomiting from ingesting excess plant material even though the plant itself is not poisonous. If your cat shows unusual interest in a spider plant, placing it somewhere elevated and out of easy reach is a sensible precaution.
A Simple Spider Plant Care Checklist
- Provide bright, indirect light for the fastest growth and most plantlets.
- Water when the top two to three centimeters of soil are dry.
- Use filtered or rested tap water to reduce brown tip issues.
- Choose a well-draining potting mix with added perlite.
- Ensure the pot has drainage holes and never sits in standing water.
- Feed lightly, once every four to six weeks, only during spring and summer.
- Repot once root-bound, roughly every one to two years for younger plants.
- Propagate plantlets in water or soil once small aerial roots appear.
- Trim brown tips with scissors for a tidier appearance.
Frequently Asked Questions
Why does my spider plant have brown tips? Most commonly caused by fluoride or chlorine in tap water, combined with mineral buildup from fertilizer. Switching to filtered water and flushing the soil periodically usually reduces new browning over time.
How do I get my spider plant to produce babies? Ensure it receives bright, indirect light and allow it to become slightly root-bound, since plantlet production is triggered more by maturity and light than by any specific care technique.
Can I cut the babies off my spider plant immediately? It is best to wait until small aerial roots have started forming at the base of each plantlet, which improves the success rate once potted or placed in water.
How often should I repot a spider plant? Younger, fast-growing plants often need repotting yearly, while more mature plants may only need it every two to three years, once roots are visibly crowding the pot.
Are spider plants safe for cats? Yes, they are non-toxic, though cats sometimes enjoy chewing the leaves due to a mild psychoactive compound similar to catnip, which can occasionally cause mild stomach upset from ingesting too much material.
Why is my spider plant growing slowly? Insufficient light is the most common cause. Moving it to a brighter, indirect light location typically speeds up growth within a few weeks.
Final Thoughts
Spider plant care rewards consistency more than intensity. Bright indirect light, water only when the soil has actually dried out, and an occasional flush of the soil to manage mineral buildup will keep this classic houseplant thriving for years, eventually rewarding you with a steady supply of plantlets to propagate and share. Few plants offer this much resilience, this much visual charm, and this much of a head start toward growing your entire collection for free.